Browsed by
Category: French Escape

Watercolor Journaling, Part 4

Watercolor Journaling, Part 4

  • Whitespace is a thing of beauty.  When I first started painting, I was told to cover every square inch of the paper with paint.  Now I realize that was not the best advice.  Not placing color on every square inch of your paper leaves some places for things to sparkle—just like the sunlight! Your white paper is your “white paint” so you always want to save some light!
  • Wherever the paper is wet you can bet things are going to spread.  Color will travel when the paper is wet, even slightly damp.  Use this to your advantage!  And learn when to stop.  There comes a time when the paper has started to be drier than your brush.  This is when it is time to set your brush down and go make yourself some tea 🙂
  • Even when a paper appears dry, it may be damp enough for colors to not stay put which can cause color to feather out. Paper that feels “cool” to the top of your index finger still has moisture in it, so if you want that color to stay exactly in its place, let the paper dry until it feels the same temp as areas that have not been wetted at all before applying color.
Watercolor Journaling, Part 3

Watercolor Journaling, Part 3

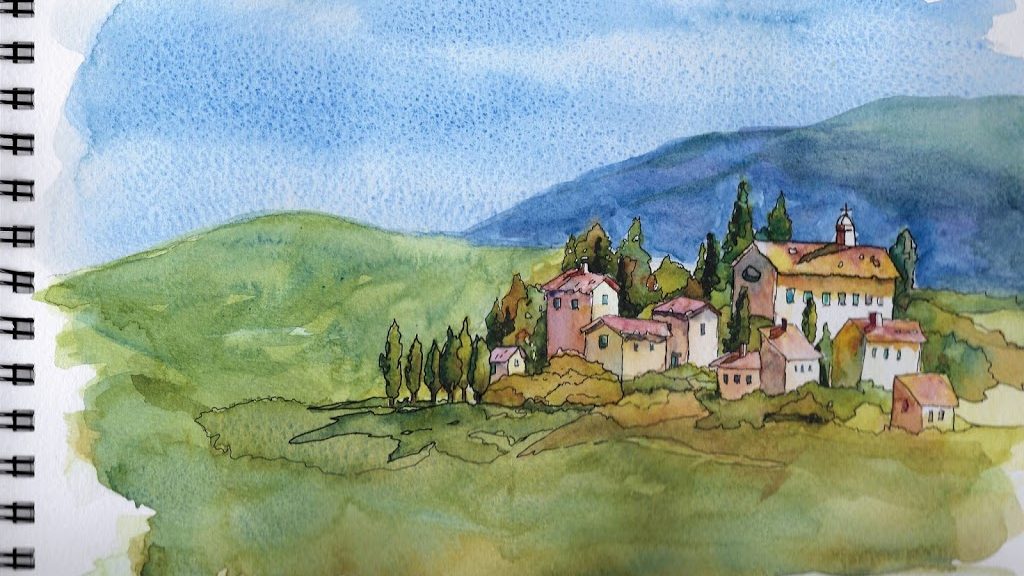
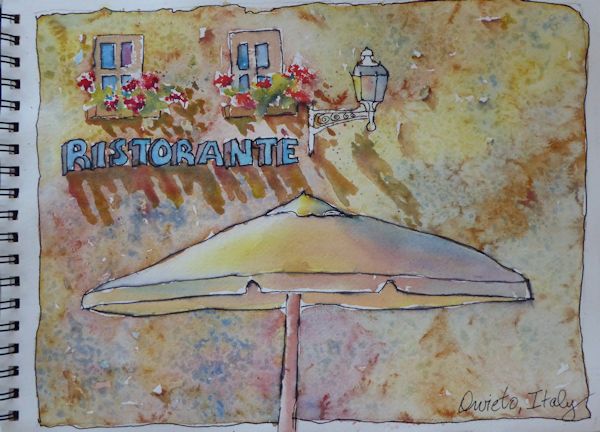
“Am I done?”  “How do I know if I am done?”  These are good questions that we all ask ourselves.  The answer is “Are you happy with your painting?”  Take a break, close your journal.  Later, take a fresh look at your painting.  Does it need a little something else?  Is it lacking a “je ne sais quoi?”  This is when I enhance my paintings with pen and ink.  This adds dimension and compliments the watercolor.  There are several ways to go about adding pen and ink to a painting.  The drawing can be drawn first with ink and then painted over with washes of color.  I prefer to paint my watercolor painting first then add my ink lines. 

Take a close look at this painting from my watercolor art journal.  You will see how I added pen and ink to the little French hilltop village. 
Would you like to come paint with me in Provence, France?  I am teaching a watercolor painting and mixed-media workshop May 10-17, 2019!  Registration is now open and the workshop is limited to 12 people.  For more information, visit French Escape

Here are more examples of how I add pen and ink to painting in my journals:

.

Watercolor Journaling, Part 2

Watercolor Journaling, Part 2

In my last post, Watercolor Journaling, Part 1, I wrote, “It is all about timing and developing a feel for how much water is in the paint, on the brush, and on the paper.  The water on the paper is continually drying as you are painting unless you are adding more and more water.  Don’t do that!  Try to add less and less water as the paint dries.  See what happens!”  I am hoping that you practiced this and are beginning to see how the relationship between the paper drying, the amount of water in your brush, and the amount of water in your watercolor paint.  It is all so fun to play and discover the subtleties of watercolors! 

More tips for watercolor journaling:
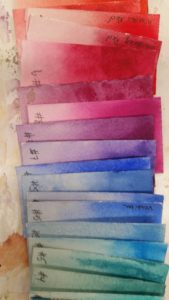
1.      Continue to build up layers and layers of watercolor paint, letting each layer dry before painting the next.  Another word for this is glazing.  Applying a glaze on top of the same color darkens the value. The more glazes you add, the darker the value will become. 
2.     You can also glaze with a different color than what you started with.  Play with glazing the same colors over each other or choose a different color.
3.     Continue painting with glazes until you are done. 
Example of glazing colors on top of each other

 Hint:  Don’t spend a lot of time fussing over the part you are glazing.  This will start to dissolve the dried layers underneath and will cause the layers to mix, creating mud, instead of laying on top of each other.  
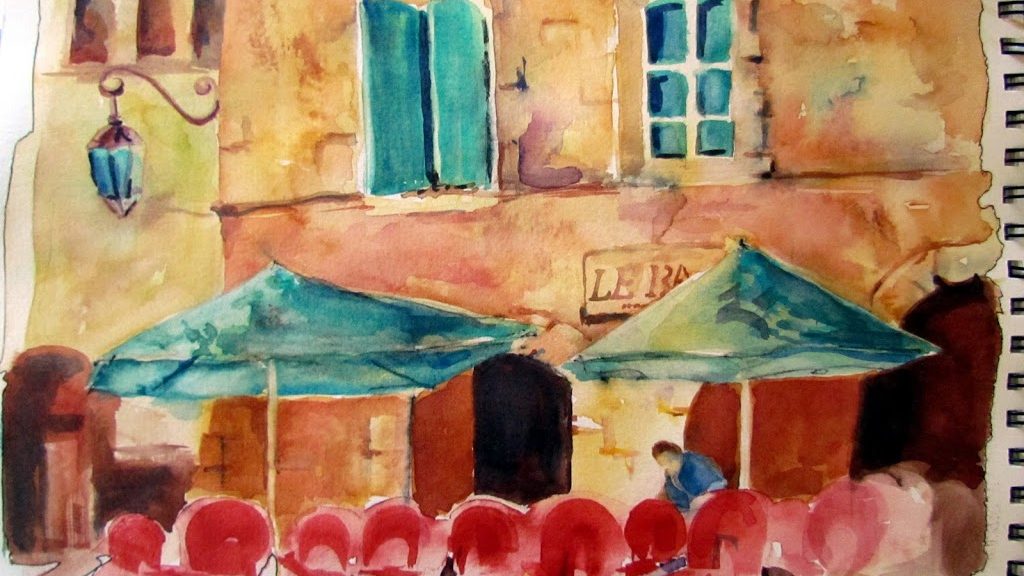
Watercolor Journaling, Part 1

Watercolor Journaling, Part 1

Watercolor painting sometimes get a bad rap.  “It is hard.”  “My paintings are muddy.”  “I can’t control the paint.”  Things run and go in unexpected areas with colors mingling in seemingly uncontrollable ways.  That is why I tell my students to put miles on your brushes.  It is all about timing and developing a feel for how much water is in the paint, on the brush, and on the paper.  The water on the paper is continually drying as you are painting unless you are adding more and more water.  Don’t do that!  Try to add less and less water as the paint dries.  See what happens!
I want to share with you how I use watercolors in my journals…. 
1.     First draw lightly with a pencil.  Draw simple shapes and just the outline of the subject.  This is called a contour drawing.  You don’t need all small details at this time.  And I say draw lightly because the graphite can make your painting muddy!

2.     Paint a light colorful wash with several colors.  One of my favorite combinations is cobalt blue, permanent rose and new gamboge or a similar yellow.  Let this dry. 

Hint – if you have trouble getting a beautiful wash and end up with streaks and hard edges you are not using enough water with your paint.  Try painting your colorful wash on wet paper – prewet the paper with clear, clean water. 

3.     Pick areas of your painting that need to be darken.  Paint these areas with another layer of paint.  Work light to dark in stages and steps.   

Check back for more tips!